Underwater Photography Tips and Techniques
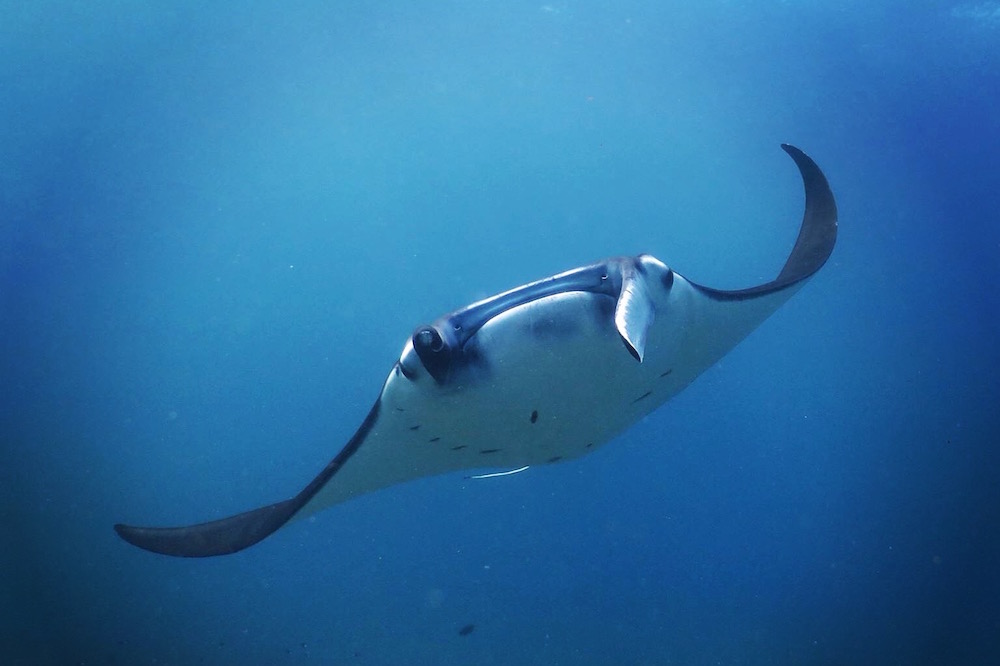
To divers, the marine world opens up a whole new area of discovery, but unless experienced in person it's difficult to describe to others how absolutely mind-blowing it is! But as the saying goes, a good photograph can speak 1000 words.
Diving itself truly is an addictive hobby, but throw underwater photography into the mix and your dives are taken to a whole new level. To capture that manta ray gliding by, or bring out the electric colours of that cool nudibranch is a fantastic feeling of achievement, but sometimes the pictures don't quite turn out the way we hoped they would. Different factors such as visibility, current, light and critters that just won't come out of that hole can all affect how the photo turns out. Fortunately, there are just a few tweaks you can do that can help to make the difference between an average photo and a great photo!
Tips & Techniques
Regardless of the type of photographic equipment, you are planning on using, there are a few simple things that are often overlooked which all divers can do underwater to improve their photography.
The first thing to remember is that we are just visitors to the underwater world, so we want to leave things just as we found them. This means no touching or harassing the life or holding on to the reef to get the 'perfect' shot.
Good buoyancy control is key to getting a good photo. Practice just using your breath to gently rise and fall, and once you have that under control you should be able to then reduce any shaky movements when taking the photo and avoid kicking up silt and sand which will inevitably end up in your shot (or someone else's!). Also holding the camera with both hands when taking the picture helps to create a clear and in focus shot.
Basic scuba theory teaches us that objects are magnified underwater and appear further away so that being said - get closer to the subject! Once you have your buoyancy mastered you'll want to do get up close and personal for several reasons, one of which is that the closer you are to your subject, the less water between your subject and the camera lens, and therefore less particles showing up on your photo. The other plus to getting closer is that your subject will start to fill the frame instead of appearing like a dot in the distance (unless your subject is a Juvenile Box Fish, then it will just be a dot in the distance!)
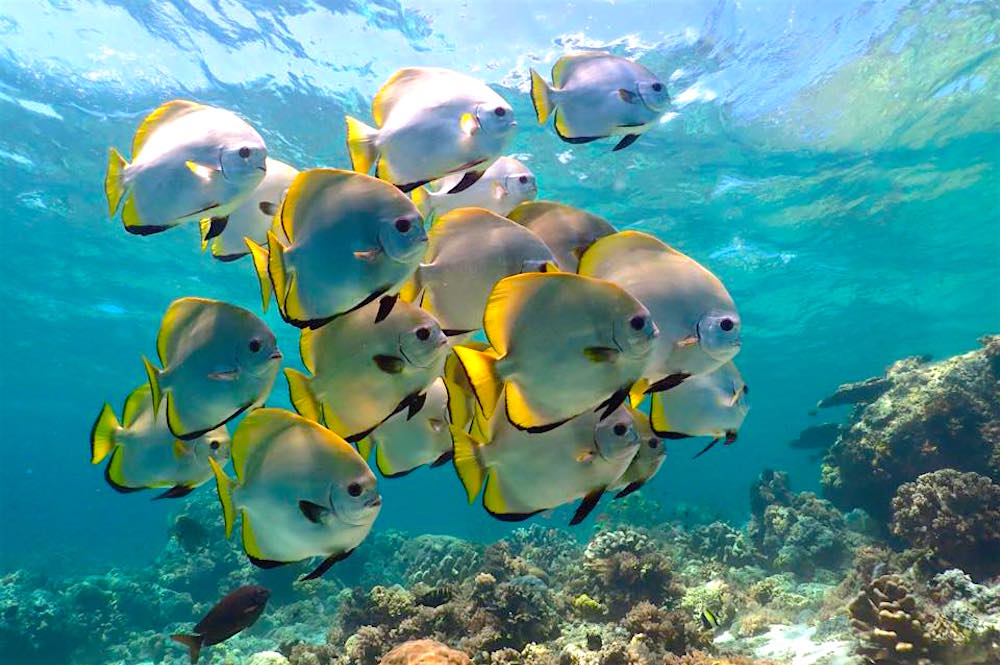
Start shallow to get more light in your pictures. As we go deeper we lose colour, and in fact, the first 10m/33f of water is where we can get the most vibrant shots. If you don't have expensive strobes to use, then staying shallow and using ambient light is a great place to start.
Don't forget to keep an eye on your buddy! It's very easy to get distracted when trying to get the perfect shot, and we can sometimes loose track of our surroundings including our buddy. Also make sure you keep an eye on other safety factors, such as air, depth & no-deco time.
Equipment
Having the right equipment can make all the difference, but so does knowing how to use it! If you're new to underwater photography then start out with something small and easy to transport, but that will also allow you to progress with your photography. There is a wide range of amazing compact cameras on the market, offering high specs and good value for money. Try to get a compact that allows you some control of the settings, so that you can progress from simple 'auto point and shoot' to manual settings without the need to buy a new camera. The Canon G16 is a great example of this, allowing you to move from auto to full manual control, so you are able to adjust the white balance, aperture, shutter speed and ISO as you start to grow and learn with your photography.
Once you have mastered the basics of underwater photography you may then want to start looking at investing in other accessories to go with your camera, such as strobes, lights and lenses (macro & wide angle). This changes your photography again and is a whole new learning process, but the beauty of underwater photography is you can always grow and learn new things, so you'll never get bored of taking your camera out!
Choosing your subject & best hotspots
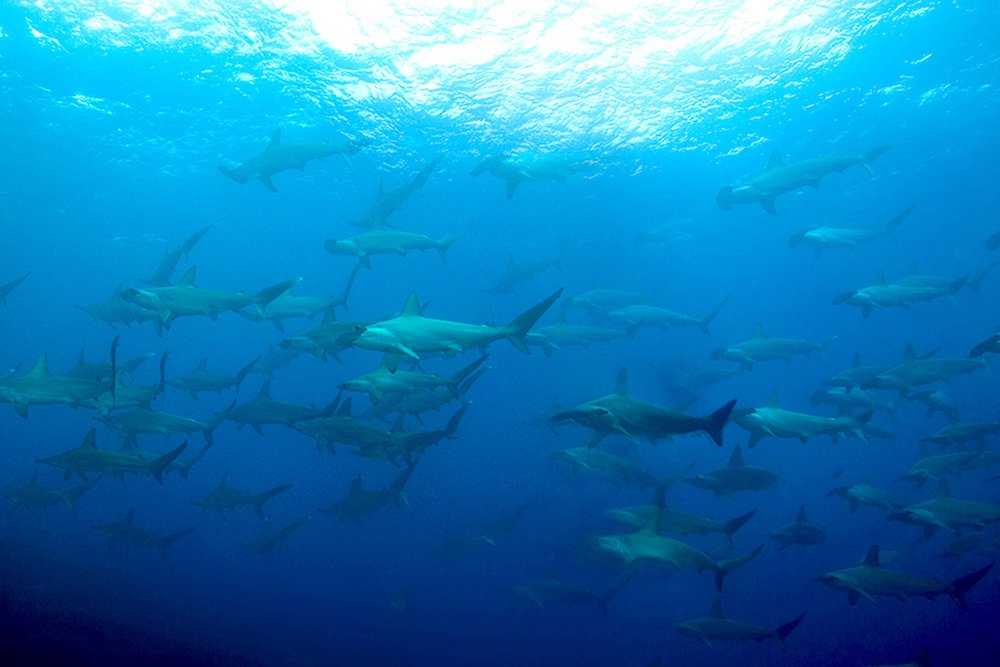
Once you have your gear and are familiar with the techniques it's time to go out and play. There are two main types of underwater photography, macro (focussing on the smaller things like nudibranchs, frogfish, scorpionfish, seahorses) or wide-angle photography (focussing on larger marine life such as manta rays, sharks, whale sharks). Macro photography is perfect if you're just starting out as generally, the subject stays still, allowing you to get close, and therefore reducing the number of particles between you and the subject, but you do need to have your buoyancy under control. Wide-angle is great for capturing the bigger life, but can be more challenging due to factors like currents, visibility and generally the fish swimming away causing problems. But that's all part of the fun!
Macro Hotspots
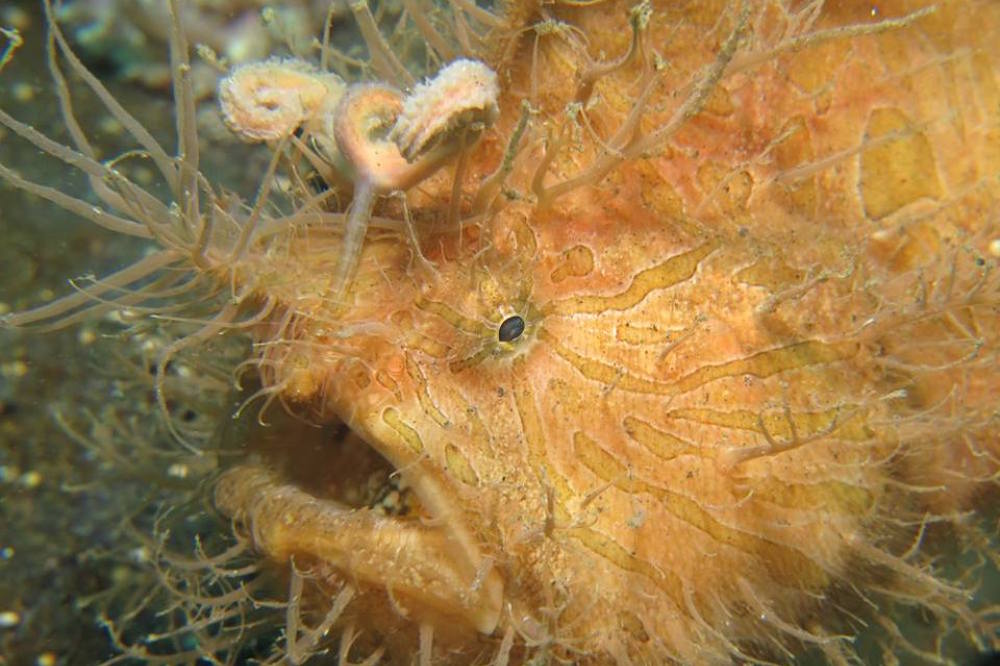
Indonesia offers some amazing macro diving. Notable destinations are Lembeh Strait, famous for its volcanic black sand and crazy critters such as wonderpus and hairy frogfish, and Ambon, home to the Ambon Scorpionfish.
Malaysia is also fantastic for macro diving. On the Borneo side of the country Mabul and Kapalai, close to Sipadan, have amazing sites for critters and fantastic artificial reefs just covered in frogfish, nudi's and ghost pipefish.
Wide Angle Hotspots
If it's the big stuff you're interested in then you can't go wrong with the Galapagos. Known for schooling hammerheads, whale sharks, playful sea lions and much, much more, the Galapagos a wide-angle photographers delight!
Another hot spot for big fish is Mexico. The Socorro’s are home to possibly the world's friendliest manta rays, coming within 1m/3ft of divers! There are also humpback whales and schooling hammerhead sharks during certain times of the year.
